Enquire Now
Enquire Now

 March 20, 2026
A good water heater will keep your house comfortable day to day. Hot water is used for showers, laundry, cooking, and cleaning. Thus, installing a water heater is important.
The installation process is a concern for many homeowners. Yet, the process tends to progress effectively with the assistance of professionals. When you have the timeframe in mind, you feel better and ready.
This manual is a step-by-step guide on how a water heater is usually installed. Consequently, you will be able to anticipate what to expect.
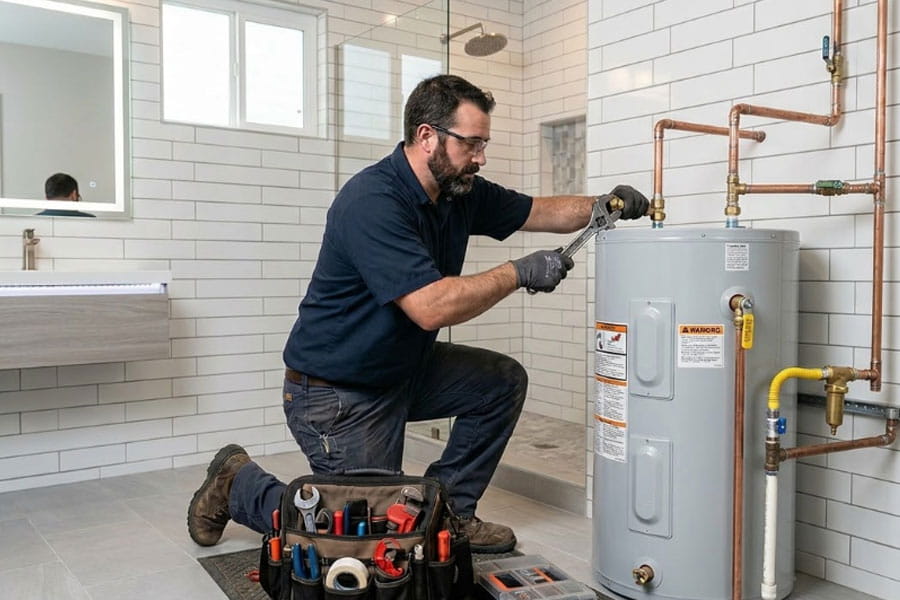
To start, a plumber inspects your existing water heater. This process lasts between 20 and 30 minutes.
The plumber examines several major factors during the inspection:
The plumber then determines the safety concerns. Replacing old valves or pipes in poor condition might be necessary. As such, the technician can suggest minor upgrades.
The plumber also does this at this stage to ensure they get the right-sized heater for your household.
The other thing that follows inspection is to choose the best water heater. This process normally lasts 30-60 minutes.
The house owners have a general choice between:
Nonetheless, the choice is determined by several factors:
An expert plumber describes the best of each alternative. Consequently, you will be able to make a sound decision. After the model is completed, the plumber prepares the installation plan.
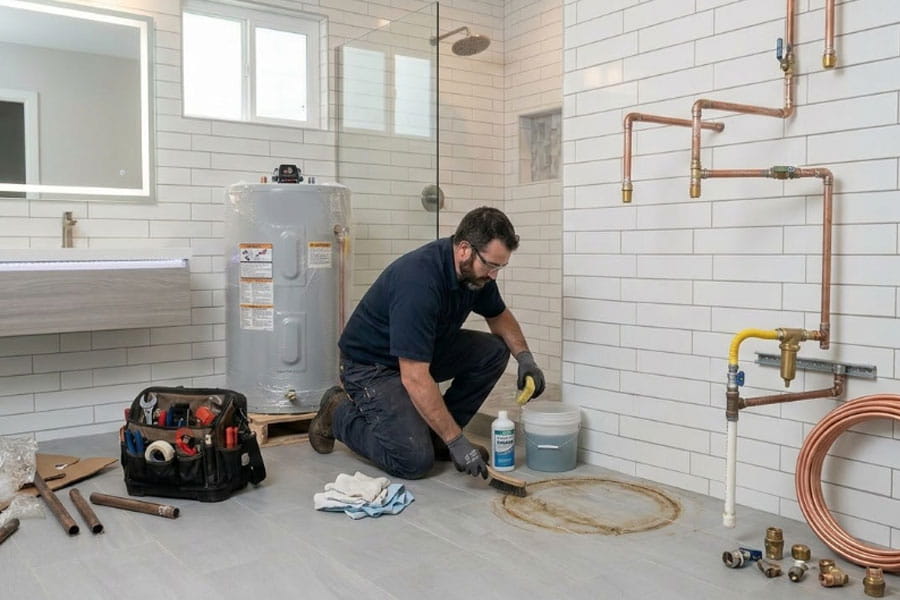
Then, the plumber prepares the working area. This process normally takes about 30 minutes.
To begin with, the technician closes the water supply. They then switch off the gas or electricity supply to the heater. Thereafter, they clear the area around them. This measure will safeguard movement and access.
Moreover, the plumber also covers the floor with protective materials. This minimal measure ensures there are no scratches or damage during the process. Preparation may seem simple. Nonetheless, it makes the installation safe and efficient.
The technician now empties the old tank. This takes 30-45 minutes. To begin with, the plumber connects a hose to the drain valve. Then they empty the tank’s water.
Meanwhile, the technician oversees the draining process. Accretion can be slowed by sedimentation. This, however, is easily dealt with by professional plumbers. After the tank has emptied, the plumber removes all water and power connections.
The plumber disposes of the old heater after emptying the tank. This typically takes 20 to 30 minutes.
The technician disconnects:
Then, the plumber delicately removes the old unit from the space.
This step must be handled correctly, as water heaters are massive. Thus, workers apply the appropriate tools and methods. Responsible plumbers also properly dispose of or recycle waste.
The major installation has commenced now. This process normally involves one or two hours. To begin with, the plumber installs the new water heater in the required location. After that, they reconnect the water lines and power supply.
At this phase, the technician installs:
Both connections should comply with safety codes. As such, professional installation is important.
It is common for homeowners to turn to professional companies such as Magnificent Plumbing and Rooter to ensure that all steps are carried out in accordance with safety standards.
The plumber then fills the tank with water. This normally consumes approximately 20 minutes. To begin with, they gradually close the water flow. Then, the tank begins filling.
In the meantime, the technician inspects all connections to ensure that they do not leak. This is also a very crucial step. The slightest leak can result in significant issues in the future. Thus, the plumber tightens fittings and makes the required adjustments to valves.
After filling the tank, the technician replenishes power. For gas heaters, the plumber lights the pilot and inspects the burner. In the case of electric heaters, the technician replenishes the electric power.
Then, the plumber controls the heating process. The average time it takes most heaters to warm the initial tank of water is 30-40 minutes. At this time, verification of operation is done by the technician.
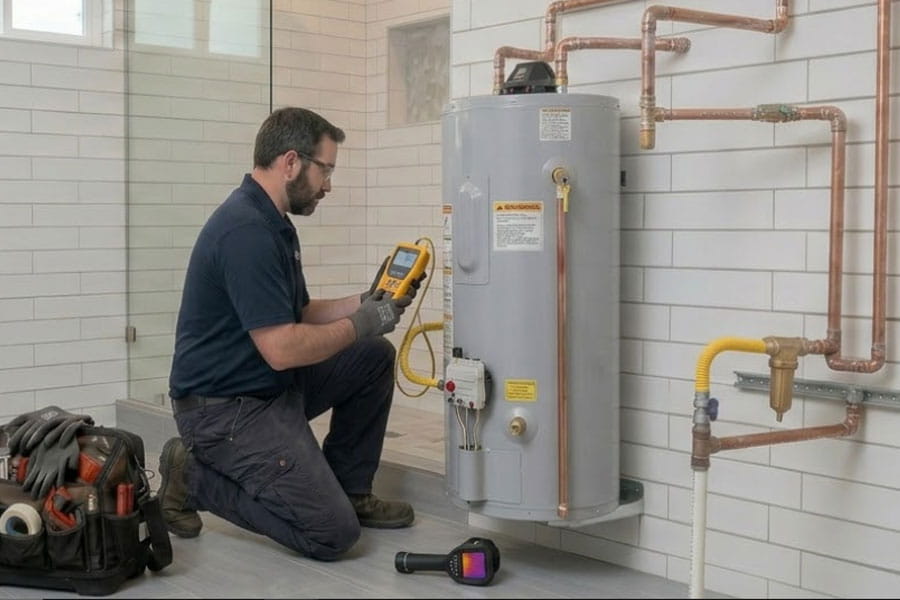
The plumber conducts a thorough safety check before leaving. This is a measure to ensure that everything is in proper working order and safe.
The technician checks:
Moreover, they verify constant heating efficiency. Lastly, the plumber offers the homeowner tips on maintaining the house.
The last stage will be cleaning up and a brief walkthrough. The technician will initially take off the packaging and the old equipment. Then, they clean the work area. After that, they demonstrate how to use the new water heater.
Homeowners usually learn:
The duration of this walkthrough is normally 10 minutes.
The average time required to install water heaters is 2 to 4 hours. Nonetheless, several aspects may prolong the schedule:
Even at that time, the experienced plumbers maintain the process efficiently. Professional installation is also a safety enhancement that guarantees your warranty.
To provide trusted plumbing services that assure long-term performance and peace of mind, Magnificent Plumbing and Rooter offers services to homeowners who want to ensure the quality of service and professionalism in installing equipment.